Firefox — FoxyProxy Standard
Step 1: Install FoxyProxy Standard for Firefox
Open Firefox.
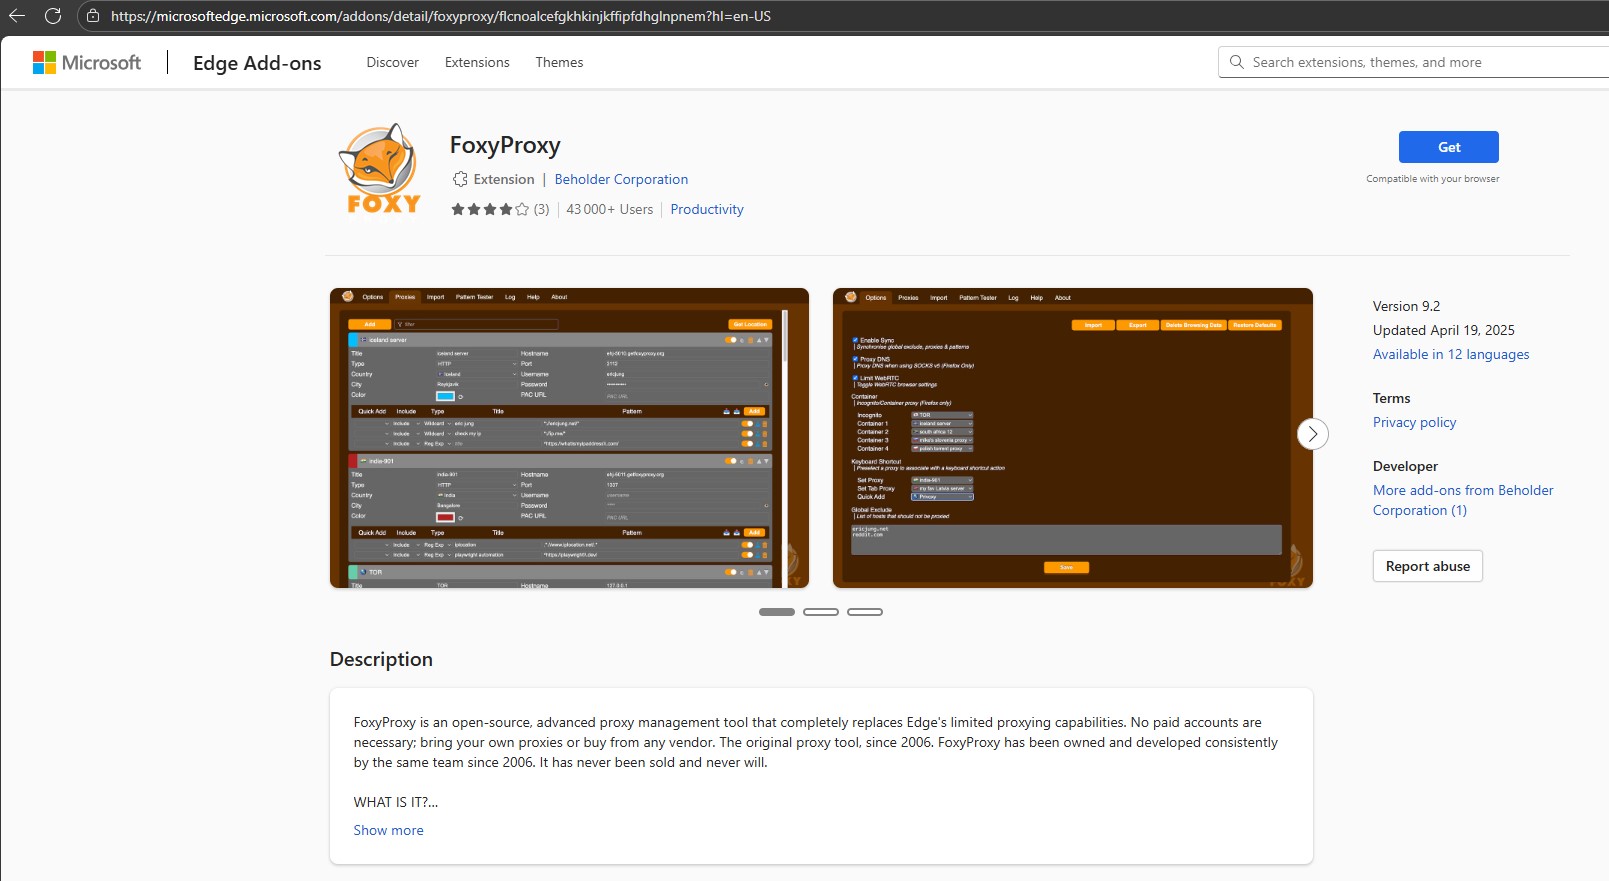
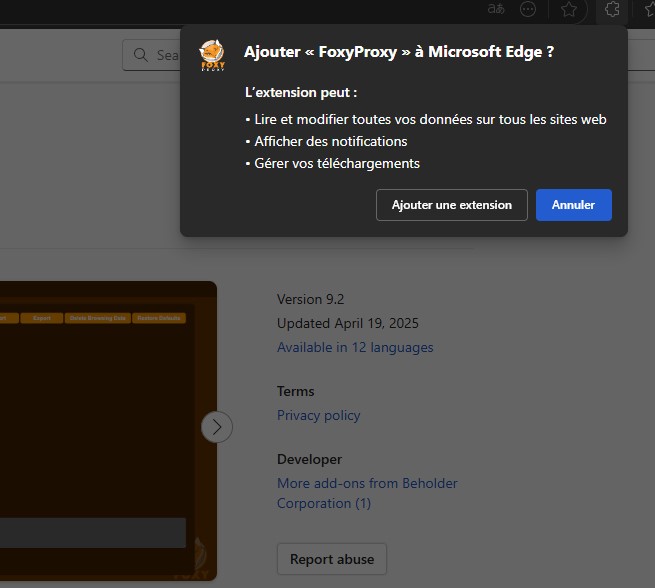
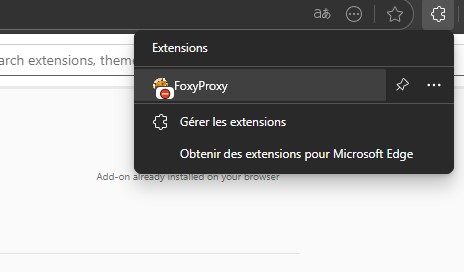
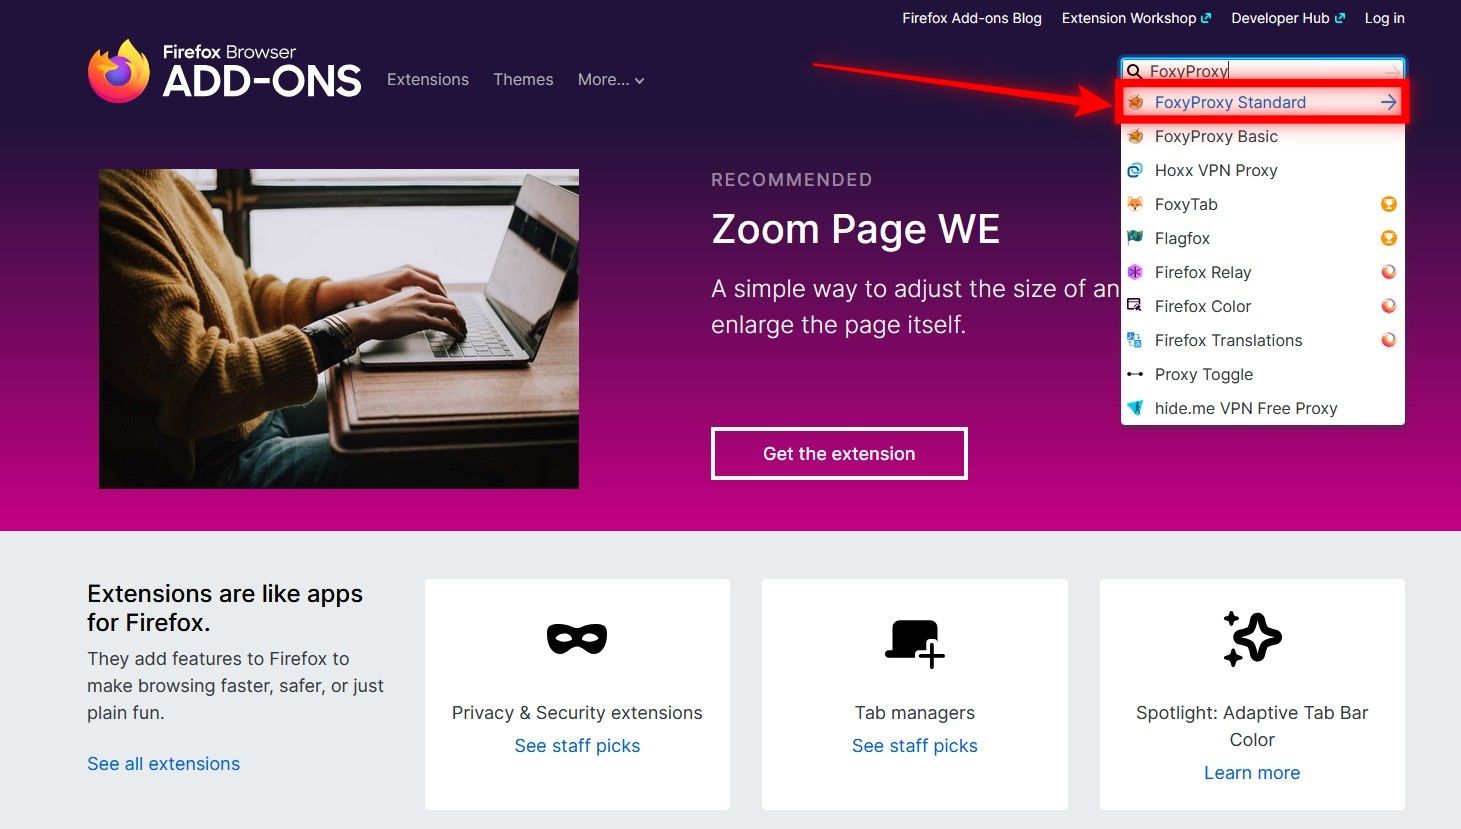
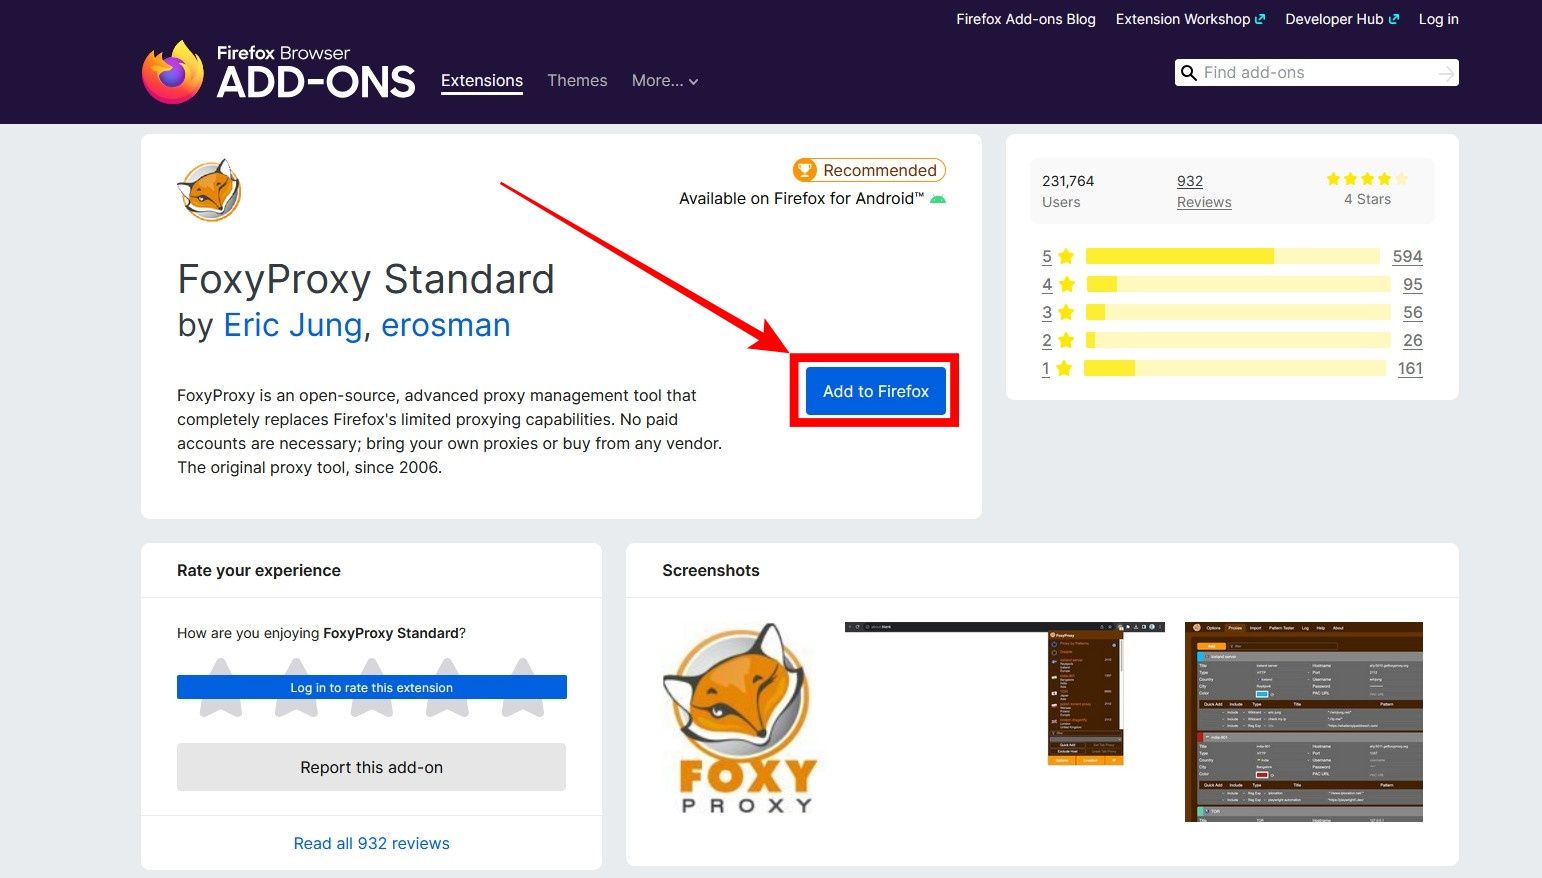
Go to Add-ons → search FoxyProxy Standard or open the FoxyProxy extension page and click Add to Firefox. You’ll see the FoxyProxy icon in the toolbar after install.
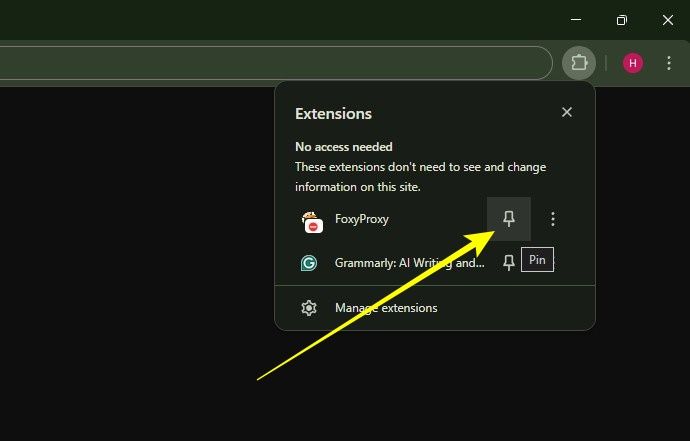
For easier access in the future, you can pin the FoxyProxy extension, the FoxyProxy extension, as you have to access it multiple times. Doing this lets you access FoxyProxy without the additional step.
Step 2: Open FoxyProxy options and add a new proxy
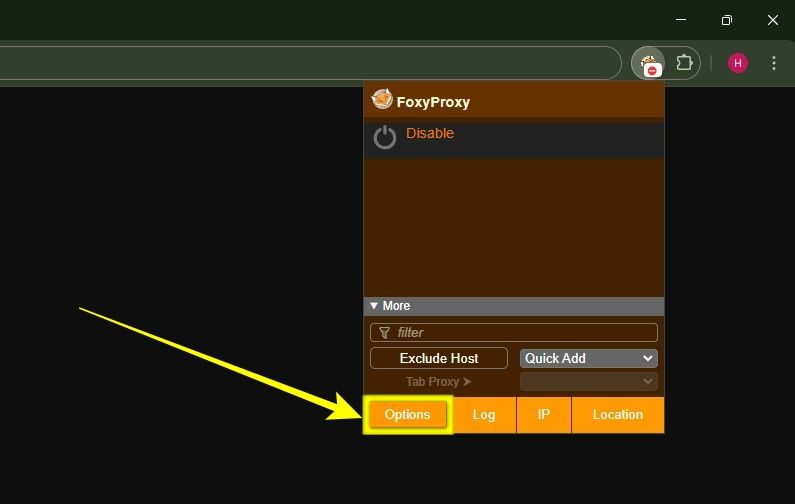
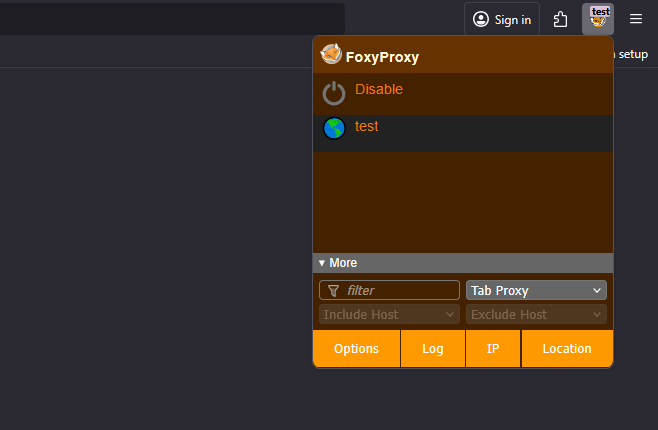
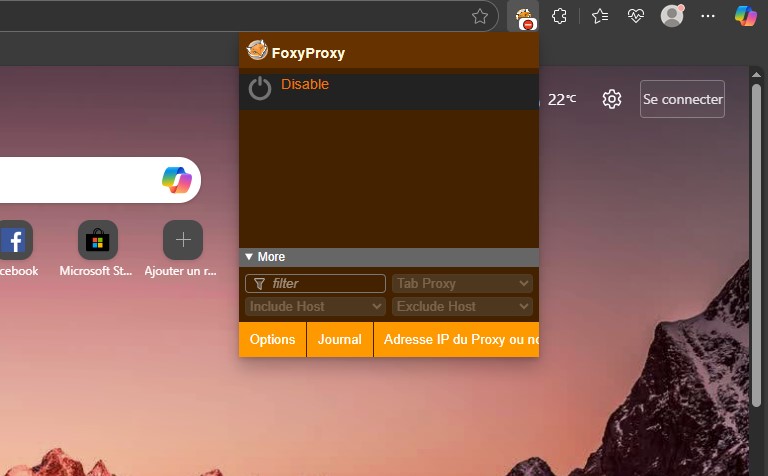
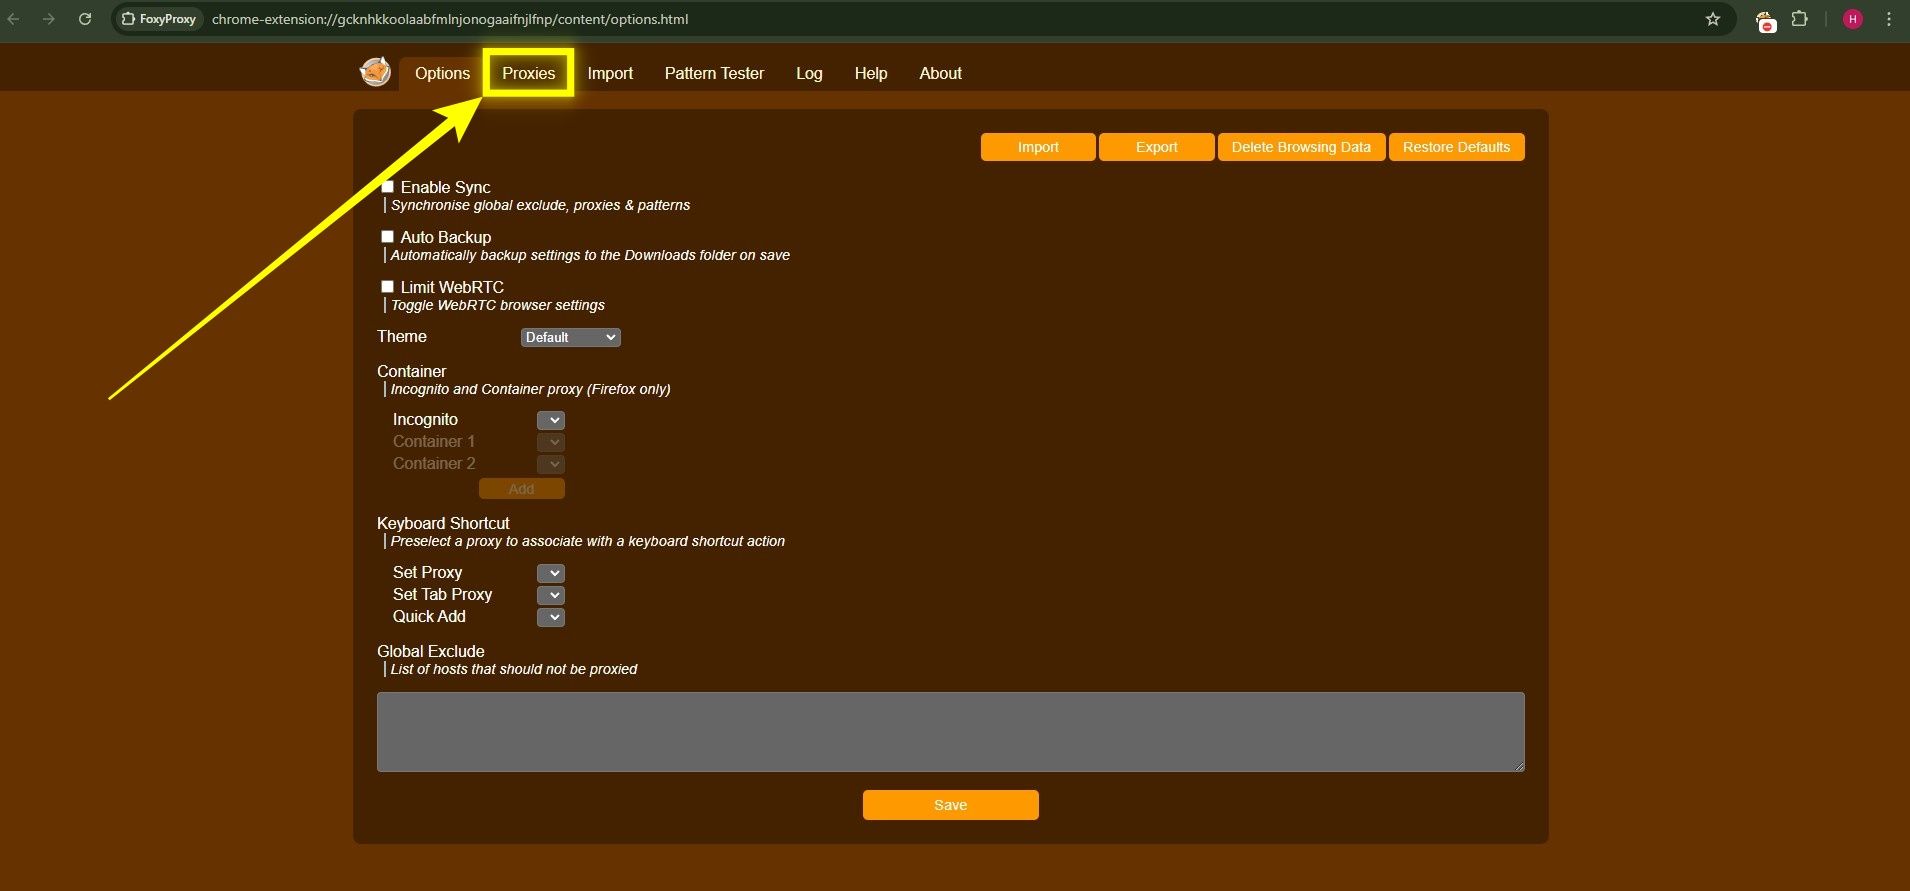
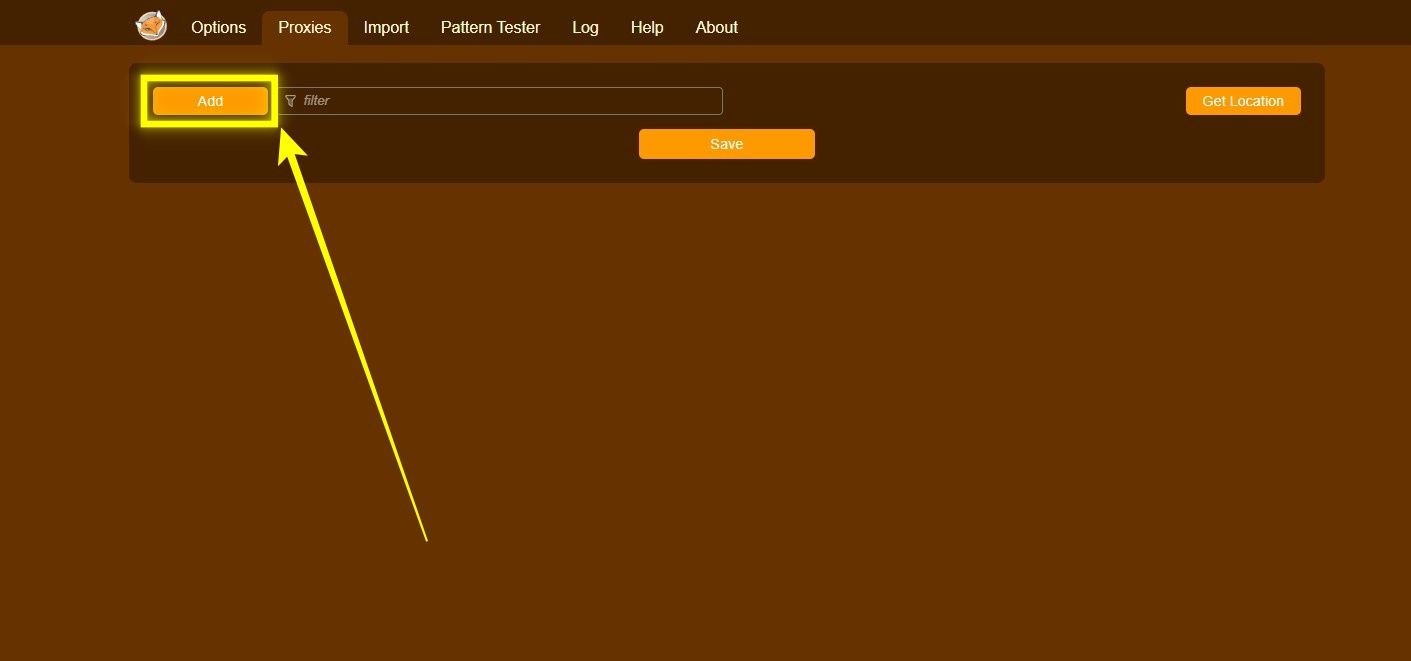
Click the fox icon → Options (or Settings / Manage Proxies).

-
With the FoxyProxy options loaded, navigate to the Proxies tab and click it.
-
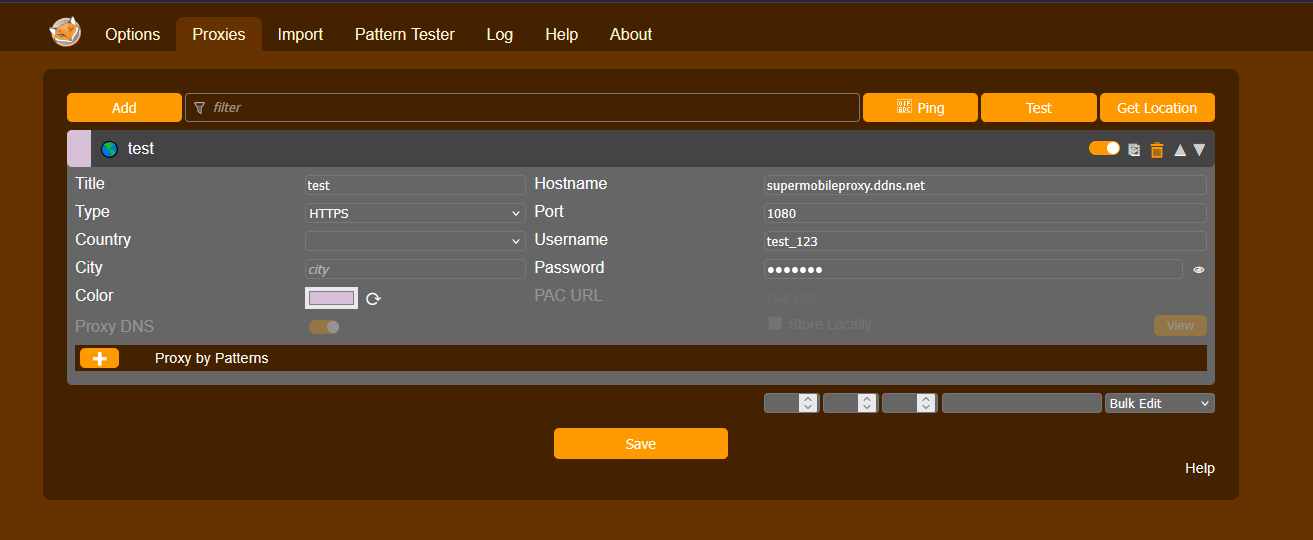
Once the Proxies tab is open, find the Add button and click it to add the proxy.
-
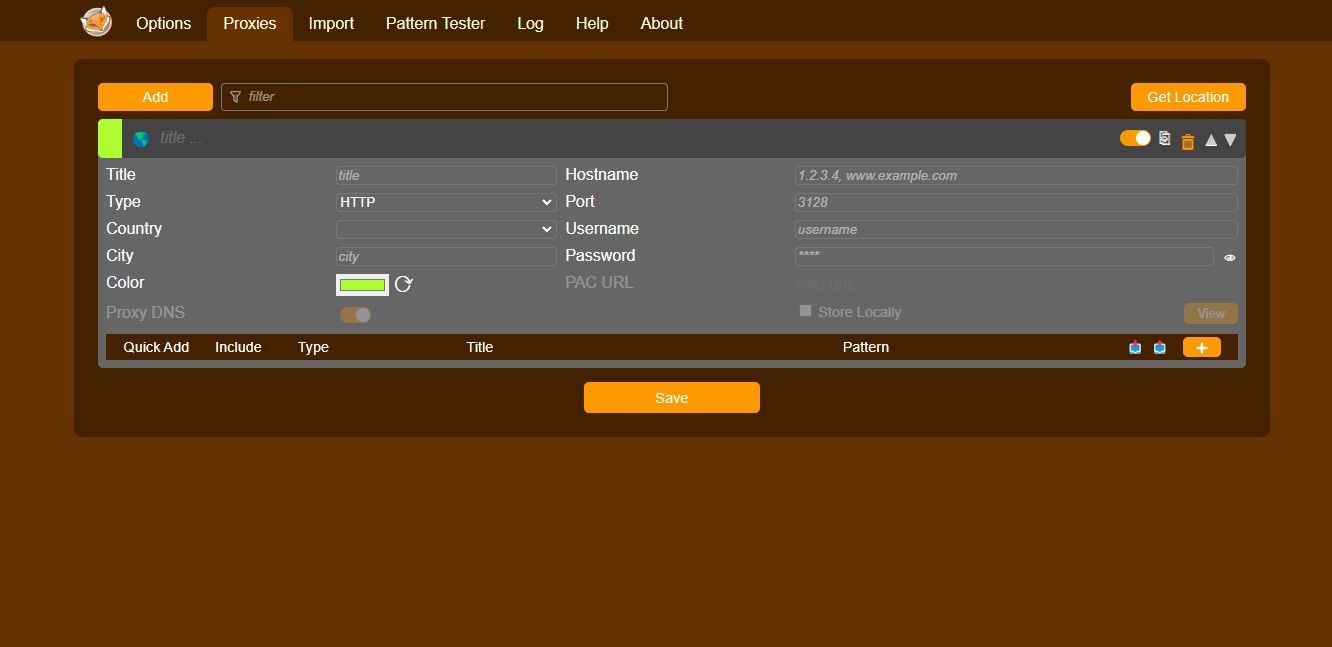
A form opens with several fields; adding info for each lets you add the proxy to FoxyProxy.
Step 3: Fill the proxy information (exact mapping)
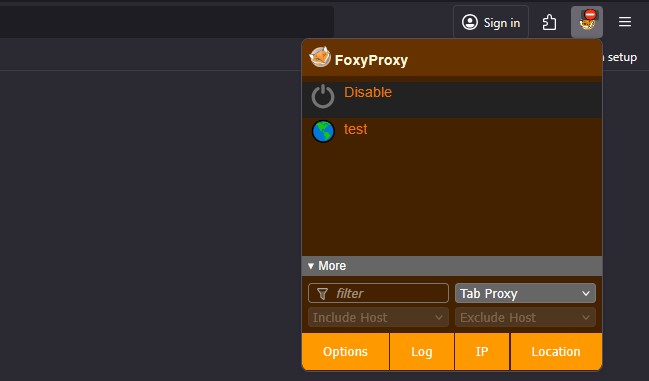
- Title / Name: any friendly name (e.g., test)
- Hostname / IP address: your proxy address (e.g., p1.supermobileproxy.com)
- Port: your provided port (e.g., 1080)
- Proxy Type / Protocol: choose HTTP, HTTPS, SOCKS4 or SOCKS5 (match your provider)
- Save Login Credentials: optional
- Username / Password: as provided (exact spelling)
Save the proxy entry when finished.

Step 4: Use Proxy
After the proxy details are saved, click on the Ping Proxies icon next to the extension icon. You will find the proxy that you added is updated in the list, and clicking on it connects you to the proxy.

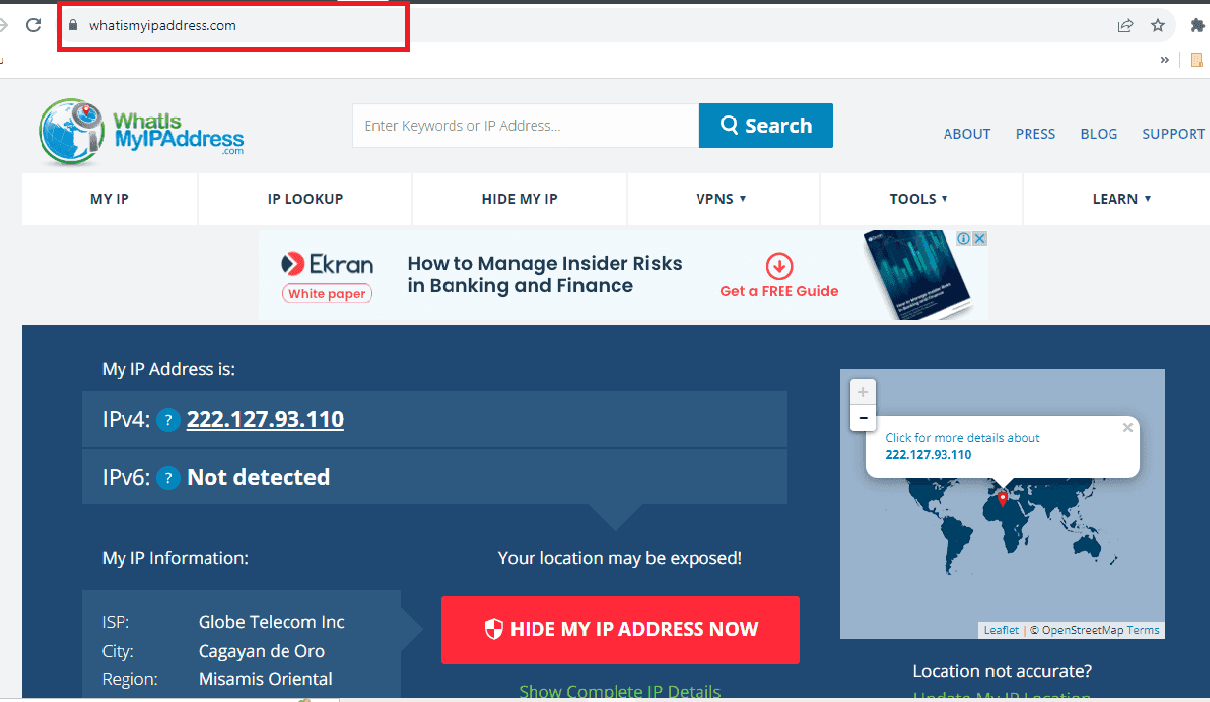
Step 5: Test your new IP
Open a new tab and visit a “What is my IP” site (e.g., whatismyipaddress.com). The IP should match your proxy’s location. Some versions of FoxyProxy include a quick What’s My IP? button.

Step 6: Turning It Off
When you want to turn off the proxy, right‑click the FoxyProxy icon in the Firefox status bar and select Completely disable FoxyProxy. This returns Firefox to a direct (no proxy) connection.

Common proxy string formats
- No auth:
123.45.67.89:1080→ Host123.45.67.89, Port1080 - HTTP auth:
user1:pass123@123.45.67.89:8080→ Fill fields separately in FoxyProxy
Troubleshooting & tips
- Auth fails → verify username/password; avoid trailing spaces.
- Proxy not applied → ensure the mode uses your proxy for all URLs or patterns include the site.
- Real IP shows → clear cache, try private window, or disable other VPN/proxy tools.
- Protocol mismatch → match HTTP vs SOCKS exactly.
- Speed → route only required sites via patterns.